4th grade end of year social studies review
Standards
|
Georgia Performance Standards (GPS)
|
International Society for Technology in Education (ISTE) Standards for Students
|
Objectives
-Students will demonstrate mastery of a 4th grade Social Studies standard/s of their choosing.
-Students will select and use a technology tool to create a digital project about a Social Studies GPS topic.
-Students will cite resources of photos and graphics.
-Students will collaborate with a classmate to create a digital project and Wordle.
Essential Questions
-Which standard/s are most interesting to my group member and myself?
-What information is important to introduce the topic?
-Which tool bests fit our presentation plan?
Teacher reviews the following...
- Rubric Used to Evaluate Digital Project (provide one copy per group)
- Example of Exemplary Digital Project using Google Drawing
- How to include citations in Google Apps using the comment feature (7:15 video)
- Google Doc (like Microsoft Word) and Google Slide (like Microsoft Powerpoint)
Students begin Social Studies Digital Project here...
Step 1: With your partner/group, determine the standard you will introduce.
Step 2: Determine the tool you will be using to create your digital project...Google Doc, Google Drawing, or Google Slides. Be sure to tell your teacher the topic and tech tool your group would like to use so she can prepare it for you.
Step 3: Using Galileo-Britannica School Elementary and/or Kiddle, research the topic to find facts as well as photos/graphics to include in the project. Ask your teacher for the current Galileo password.
Step 4: Once you have located facts, include the information in the digital project. To begin, select the correct group under your teacher's name below.
Biddy
Group 1 Group 7
Group 2 Group 8
Group 3 Group 9
Group 4 Group 10
Group 5 Group 11
Group 6 Group 12
Wright
Group A Group G
Group B Group H
Group C Group I
Group D Group J
Group E Group K
Group F Group L
Step 5: Continue to research your topic. Locate graphics/photos. Insert them into the digital project. Simply click and drag. Important: Be sure to cite where you found the graphics/photos. Include the information as a comment of the image.
Step 6: Review the rubric to ensure your group is completing all the required components.
Step 7: Finalize the project details and notify the teacher when your group has finished the task.
Step 8: Complete a self-evaluation. Honestly consider the project from the view of the audience.
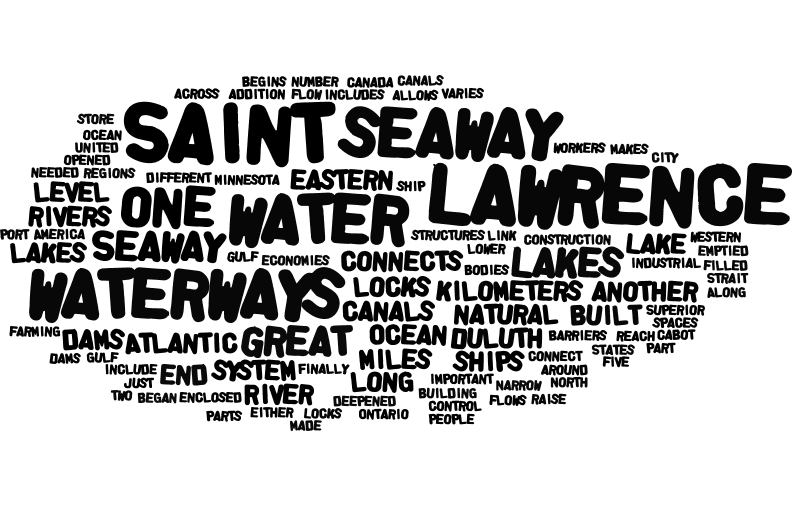
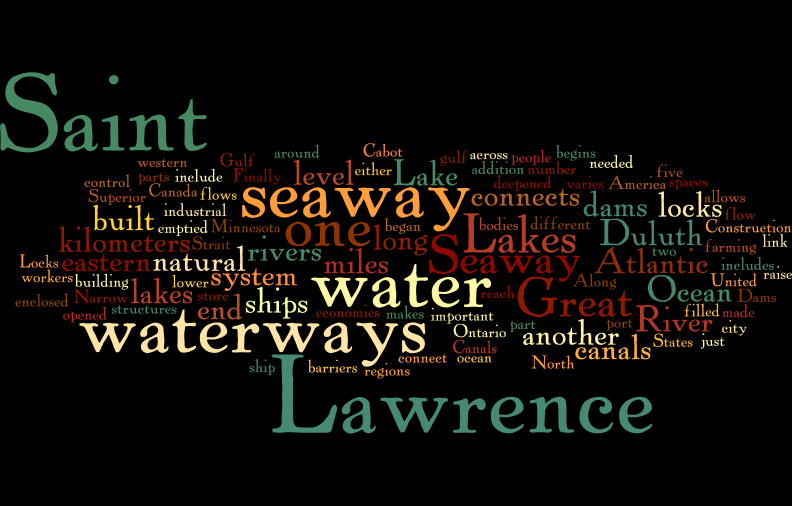
Step 9: To create a vocabulary rich compliment to your digital project, you will create a Wordle. Read and follow directions on the Wordle website carefully! With your partner determine the 10 (or more) most important words that describe your topic. Adjust the colors and fonts to ensure it will coordinate with the digital project you created. Your Wordle will be assessed using this rubric. (Note: Wordle does not work using a Chrome browser. You must use Safari or Firefox.)
The following Wordle examples were created for the St. Lawrence River. Your Wordle will not have this many words. However, notice that some words are larger than others. In order to make a word larger, you must list the word multiple times.
Step 1: With your partner/group, determine the standard you will introduce.
Step 2: Determine the tool you will be using to create your digital project...Google Doc, Google Drawing, or Google Slides. Be sure to tell your teacher the topic and tech tool your group would like to use so she can prepare it for you.
Step 3: Using Galileo-Britannica School Elementary and/or Kiddle, research the topic to find facts as well as photos/graphics to include in the project. Ask your teacher for the current Galileo password.
Step 4: Once you have located facts, include the information in the digital project. To begin, select the correct group under your teacher's name below.
Biddy
Group 1 Group 7
Group 2 Group 8
Group 3 Group 9
Group 4 Group 10
Group 5 Group 11
Group 6 Group 12
Wright
Group A Group G
Group B Group H
Group C Group I
Group D Group J
Group E Group K
Group F Group L
Step 5: Continue to research your topic. Locate graphics/photos. Insert them into the digital project. Simply click and drag. Important: Be sure to cite where you found the graphics/photos. Include the information as a comment of the image.
Step 6: Review the rubric to ensure your group is completing all the required components.
Step 7: Finalize the project details and notify the teacher when your group has finished the task.
Step 8: Complete a self-evaluation. Honestly consider the project from the view of the audience.
Step 9: To create a vocabulary rich compliment to your digital project, you will create a Wordle. Read and follow directions on the Wordle website carefully! With your partner determine the 10 (or more) most important words that describe your topic. Adjust the colors and fonts to ensure it will coordinate with the digital project you created. Your Wordle will be assessed using this rubric. (Note: Wordle does not work using a Chrome browser. You must use Safari or Firefox.)
The following Wordle examples were created for the St. Lawrence River. Your Wordle will not have this many words. However, notice that some words are larger than others. In order to make a word larger, you must list the word multiple times.
Step 10: When the best design has been determined, review the rubric one more time. Save the Wordle image to your computer's desktop. Tell the teacher your Wordle is complete. Your Wordle image will be paired with your digital project during the presentation.
